03.11.2026 PropStream
After listing hundreds of properties on the MLS, the process becomes almost second nature for many experienced real estate agents. But, listing a property may seem intimidating if you’re new to the field.
This is where a step-by-step list can help. Research shows that checklists can help you standardize a complicated process and avoid missing crucial steps. Use our guide below to learn more about the necessary steps for listing a property.
Table of Contents
- Step #1: Find Motivated Sellers
- Step #2: Schedule Your First Meeting
- Step #3: Run Comps
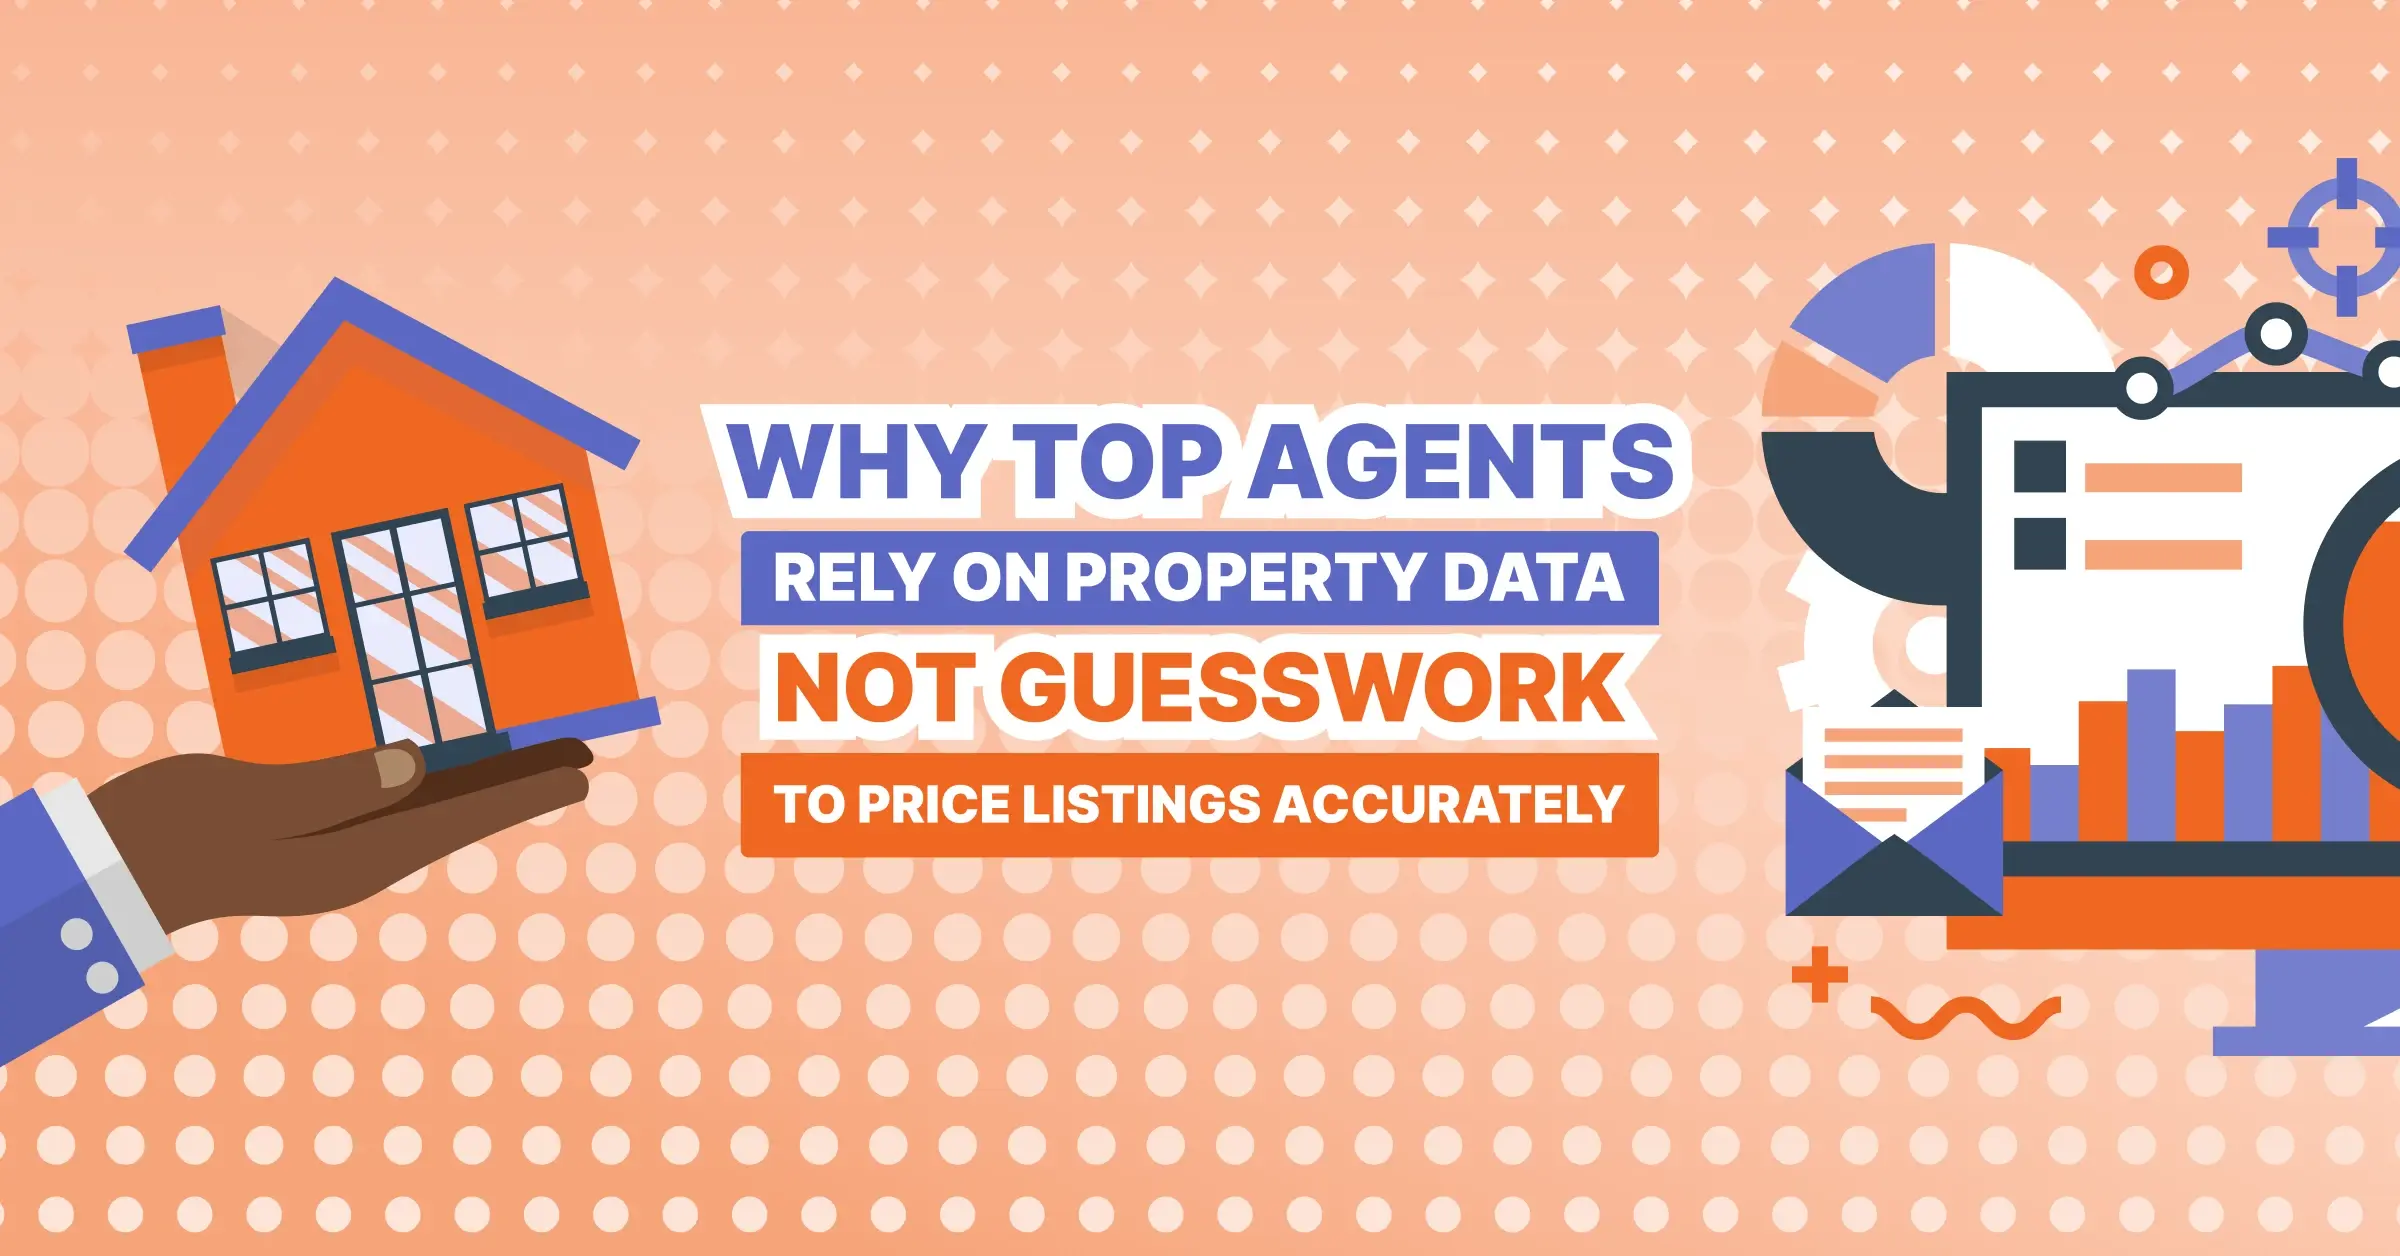
- Step #4: Set a Fair Listing Price
- Step #5: Sign a Listing Agreement
- Step #6: Get the Home Ready to Sell
- Step #7: Take Listing Photos
- Step #8: Create an MLS Listing
- Step #9: Get a Key Box and For-Sale Sign
- Step #10: Start Marketing
- Step #11: Keep the Seller Updated
- PropStream It!
Step #1: Find Motivated Seller Leads
There are many ways to approach agent marketing.
You can host open houses for current clients, promote your brand and current listings on social media, send marketing emails, ask past clients for referrals, or attend local networking events. You could also use PropStream’s search filters, Lead Lists, and skip tracing features to find and contact motivated sellers in your area.
Step #2: Schedule Your First Meeting With the Seller
Once you’ve found a motivated seller, it’s time to meet with them—preferably in person.
This is where you can gather important information about the home, such as the property's condition, key features, and when appliances or structures were last upgraded or replaced. Be sure to ask them about their goals and motivations to sell, walk them through the selling process, and set expectations for working with you.
Step #3: Run Comparables

Now it’s time to run comparables (or comps) on the property so you can determine an asking price. If you don’t have much experience in running comps, make sure to find other properties that:
- Are nearby, preferably in the same neighborhood
- Are similar in structure and size (building and land)
- Have the same number of bedrooms and bathrooms
- Are in similar condition
- Were sold recently
Use reliable data to find properties to compare with the subject property. For example, you can use PropStream to filter your comps search to ensure the most precise estimates.
Step #4: Set a Listing Price
Once you’ve run comps and have an idea of what the property could go for, set a competitive price that is not too high, as that could deter buyers.
Also, avoid precise numbers like $397,799. Rounded numbers make it easier to find the property when using the budget filter on listing sites.
Step #5: Sign a Listing Agreement
Before listing the property, ensure you and your client sign a listing agreement.
Under this contract, the seller agrees to work exclusively with you (or your brokerage) to list, market, and sell their property in exchange for a commission. The agreement also outlines the listing price, agent and seller responsibilities, mediation terms, and the contract’s expiration date.
Step #6: Prepare the Home for Sale
Assess the home’s appeal, both inside and outside. Do the walls need washing or fresh paint? Does the garden need new flowers? Should the driveway be pressure washed?
When advising clients on boosting their property value through property improvements, focus on projects that will offer the highest return for the lowest investment.
Step #7: Take Photos

Photos are often the aspect of a listing that potential buyers will use to decide if the property is worth seeing in person or not.
So, be sure to provide a robust gallery of photos highlighting the entire property. To make your listing truly stand out, you may also want to include:
- Drone photos
- A 3D walkthrough
- A floor plan
Step #8: Create the MLS Listing
In addition to stellar photos, a stand-out listing requires a compelling description. When writing your description, use vivid language that helps the buyer visualize themselves living in the home and enjoying its key features.
Next, fill out necessary information such as square footage, bedroom and bathroom count, address, listing price, etc. Provide as much information and detail as possible.
Finally, don’t forget to activate the listing! If you miss this step, your listing won’t show on the MLS and corresponding listing sites.
Step #9: Get a Key Box and For-Sale Sign
While a for sale sign is excellent for highlighting the fact that the home is for sale to passersby and neighbors (who may spread the listing by word of mouth), this may also make the property vulnerable to intruders should they catch onto the fact that nobody is living at the property.
To keep intruders at bay, consider getting a key box to keep the property secure and avoid sharing any codes with other people.
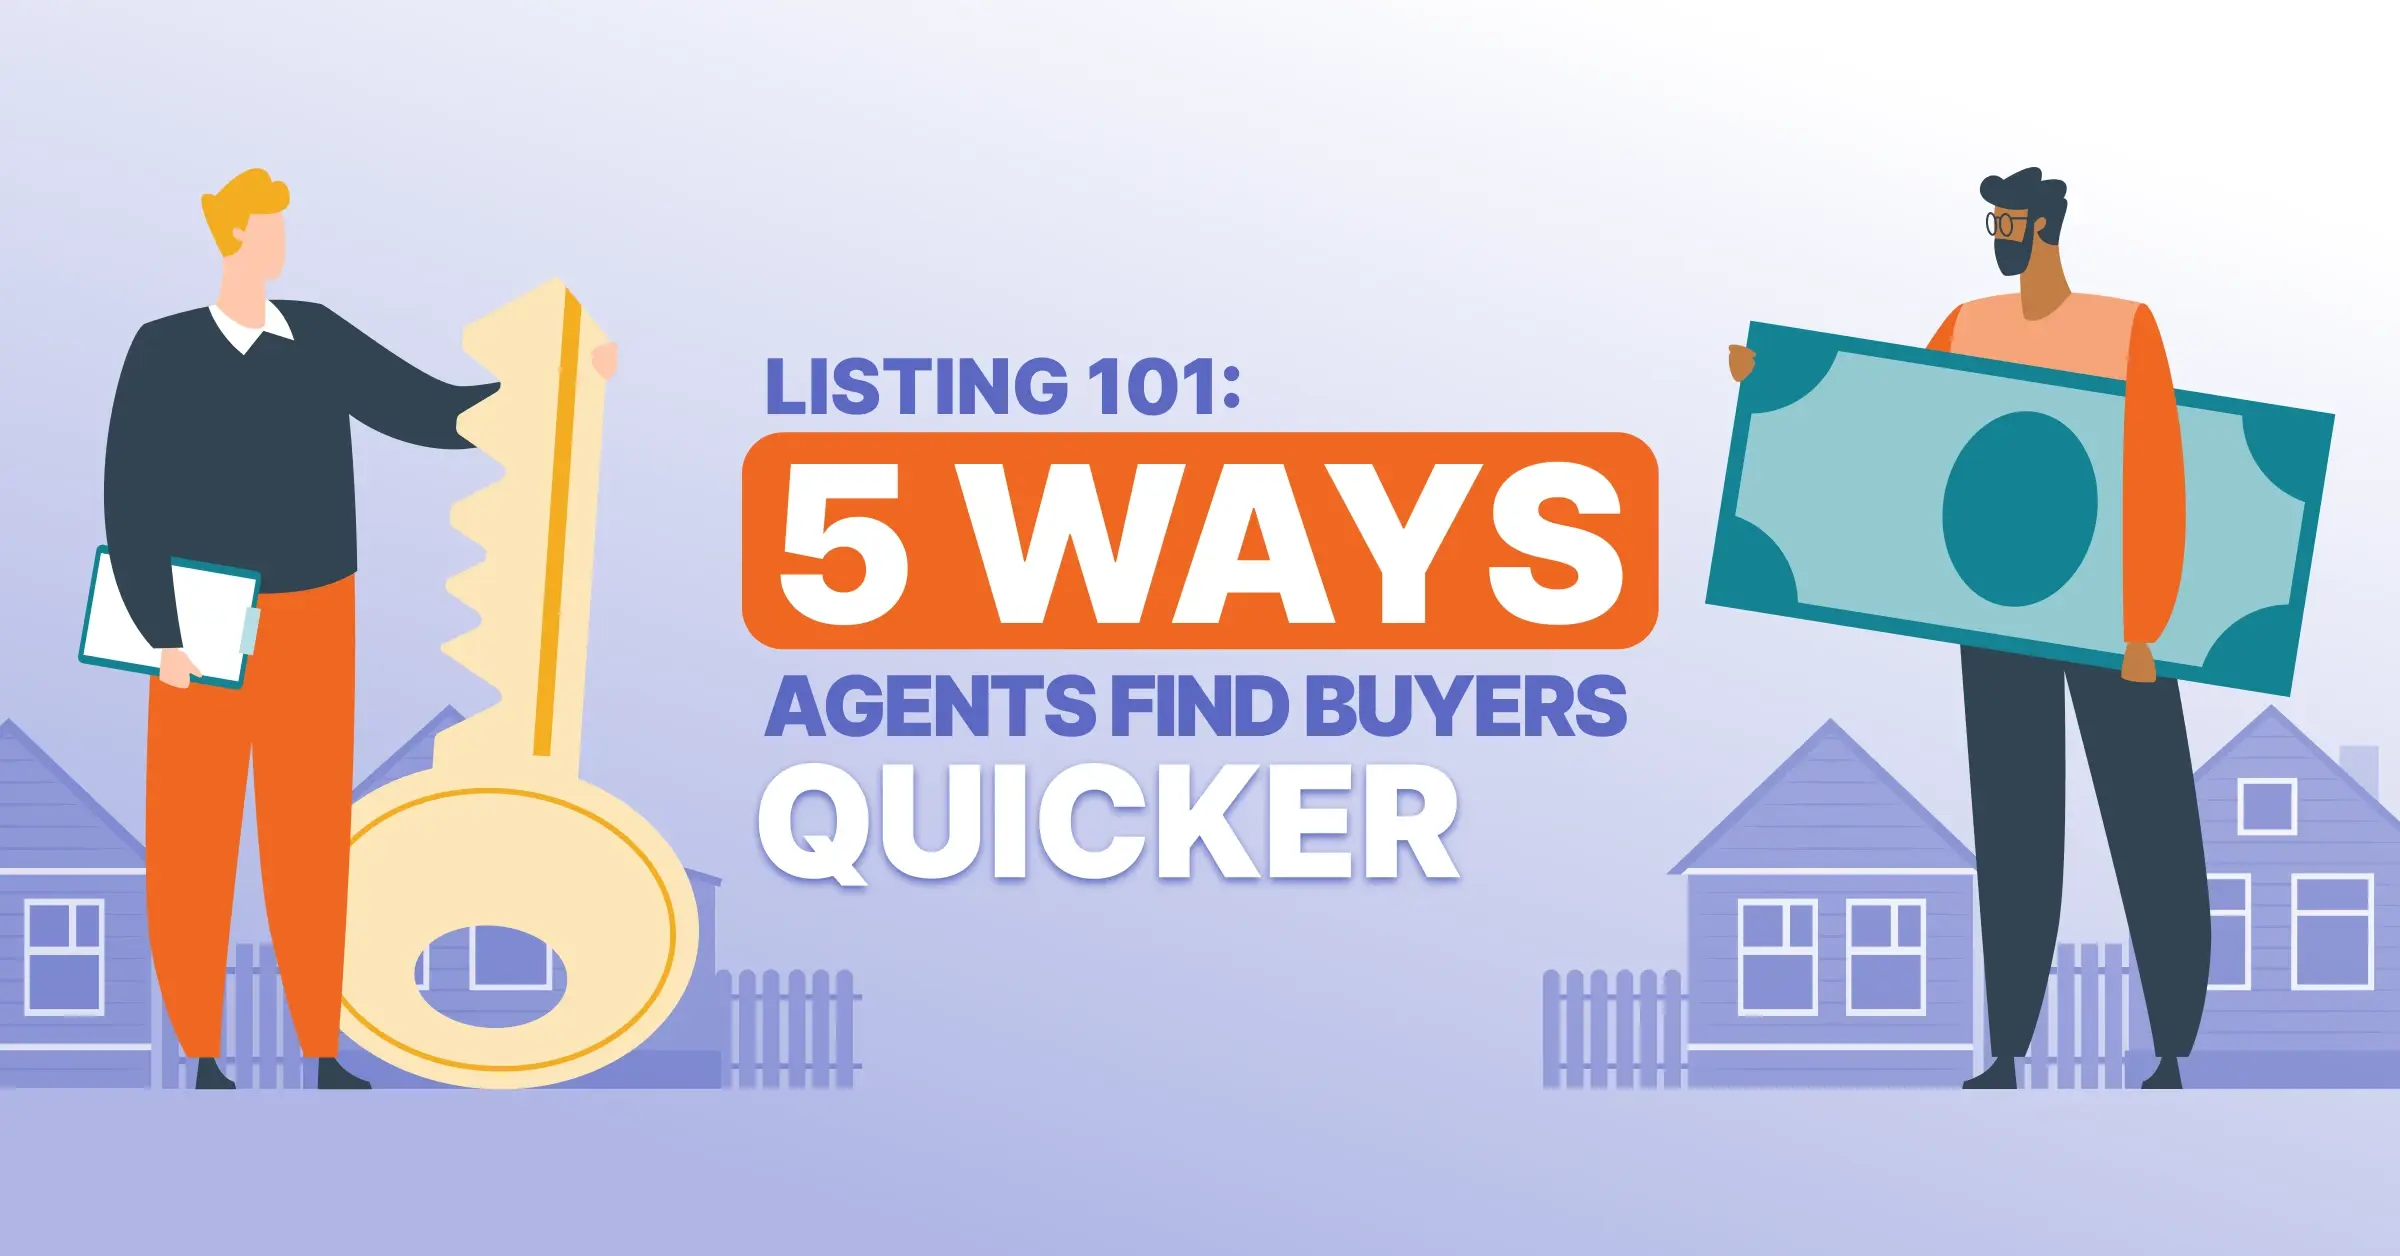
Step #10: Market the Property
Once your listing is live, promote it on real estate websites, partner brokerage sites, and social media. Use in-person marketing tactics, like hosting open houses and passing out flyers to nearby homes.
To take your marketing to the next level, use PropStream to analyze neighborhood trends and highlight key selling points. Our marketing tools make it easy to promote listings, create emails, and send postcards!
Step #11: Keep Your Seller Updated
You can either let your client know about each offer as it comes in or collect a handful of offers and review them all at once. Either way, regularly update your client on how the listing is performing.
Ready to Find Your Next Listing? PropStream It!
Before you can start getting a listing ready, you must find properties to list!
With PropStream, you can find motivated sellers in your region (AKA ideal listing leads) in minutes by searching criteria like:
- Pre-foreclosure
- Pre-probate
- Divorce
And so much more!